In this blog, I will do my level best to detail the steps included in creating a smart assist bot that will help agents to schedule appointments for customers they’re chatting with. It would be helpful to understand and have knowledge of the Azure Bot Framework, but it absolutely not necessary.
Smart Assist bots enable agents to have to have additional information about a conversation topic, business process or customer to reduce the time spent on a call or even maximise a sale. To read more about Smart Assist and how it can be useful for agents using Omni Channel, check out my previous blog which introduced the topic.
The Basics
When an agent or a customer chats via omnichannel, they are using the Microsoft Teams channel in the Azure Bot Framework. The chat messages being sent are sent to the Language Understanding Cognitive Service (LUIS) to identify the “intent” i.e. to allow the bot to understand what is being said and provide the correct information. Based on the intent, an action will be executed and an adaptive card will be created to alert the agent of any information and or additional actions they could execute.

There are three main components to focus on:
- LUIS Cognitive Service
- Smart Assist Bot
- Integration with Omni Channel
I tried to get every detail into one blog post but there are quite a few steps involved so I’ll split this into multiple posts. This blog will focus on the first two components.
Lets get started by working on the LUIS Cognitive Service
Setting up LUIS
Create Azure Resources
- Browse to the Azure portal
- In the Azure portal, search for Cognitive Services in the Azure search bar.

- Click Add
- Click See more

- Select Language Understanding from the list
- Click Create
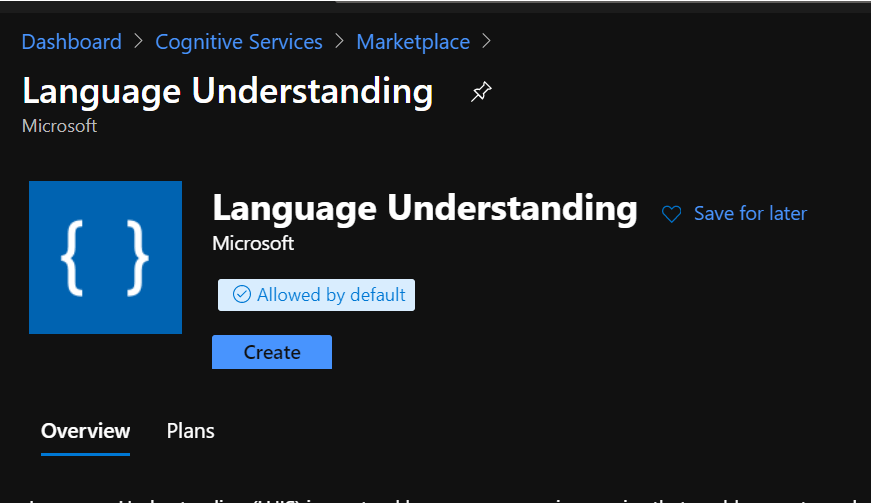
- Populate the screen and select Review and Create then Create.

Create LUIS App
- Browse to LUIS.ai

2. Log In with azure credentials in the Azure tenant that the smart assist bot should be created in
3. Click the New App for Conversation button

4. Populate the App Name and Description, select the Prediction resource created in the previous section and press Done.

LUIS provides the option for users to create their own intents. In the context of LUIS, an intent defines the desired action of the user. For e.g. If the user’s message to the agent was “I need to change my address” or “I’ve just moved and wanted to update you” the intent would be “ChangeAddress”. LUIS also provides prebuilt intents e.g. HomeAutomation.TurnOn which can be triggered by phrases such as “Turn on my living room lights”.
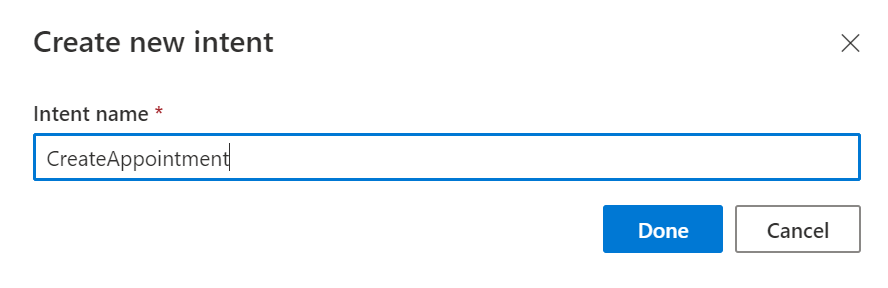
5. Click on Create and Populate the name of the Intent with “CreateAppointment”.
6. Populate the user input area with some examples of how a customer may request an appointment.
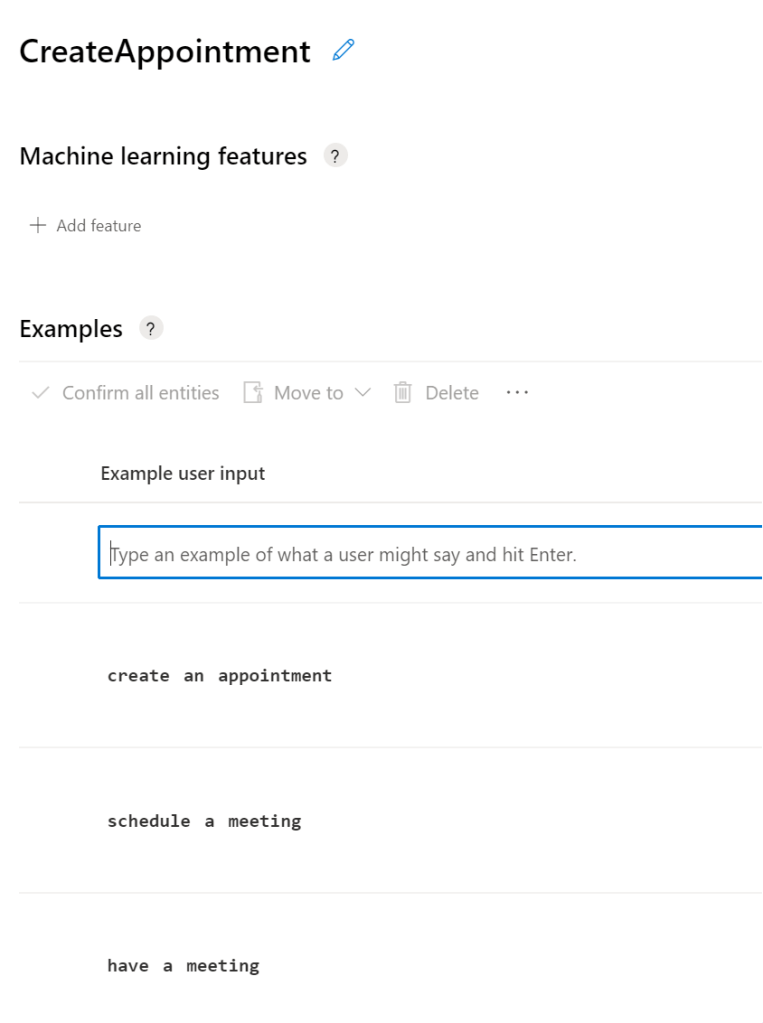
7. We now need to train LUIS before we are able to publish the service and use it in our bot. To do this, click on the Train button. Once LUIS has been trained, the color on the button will change to Green.

7. Click the “Manage” button and make a note of the LUIS app ID.
8. Click on the Azure Resources navigation link and make a note of the Primary Key.
9. Click on the Publish button and then Done

The Azure resources will be published in the azure tenant.
Create Web Bot
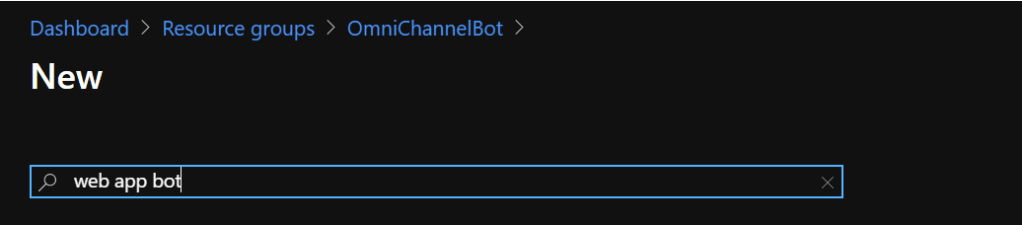
- in the Azure Portal, browse to the resource group created earlier
- Click on Add to add a new Web App Bot to the resource group
- Search for Web App Bot in the Marketplace and click Create
- Populate the details as per the image below to create the bot. Ensure the region selected is the same region where the LUIS service was created and the Bot Template selected is Basic Bot.
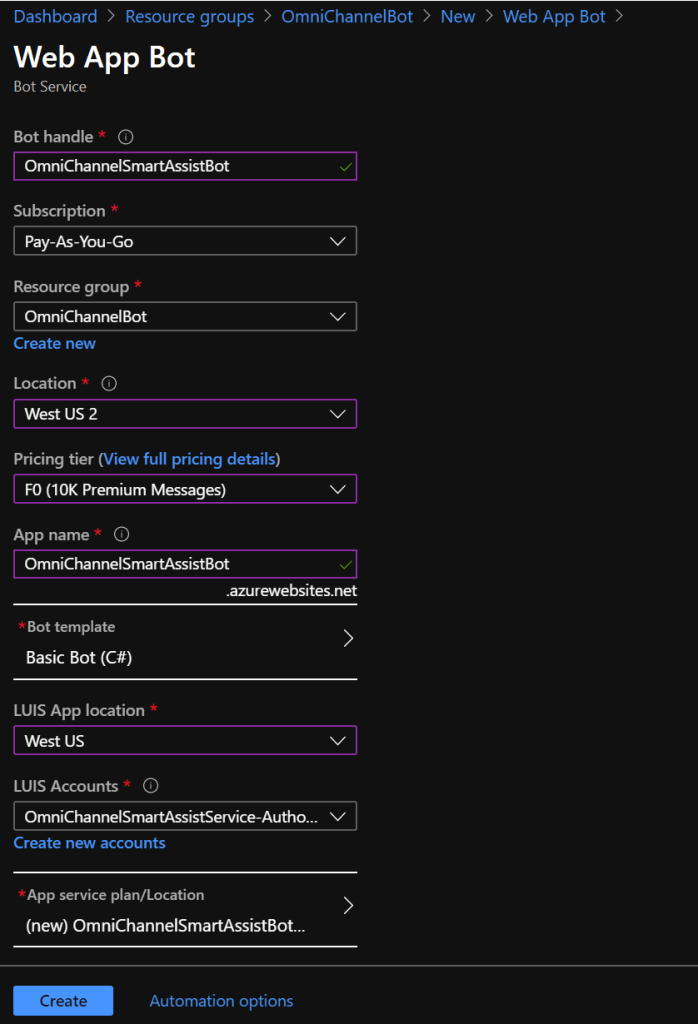
- Click Create to create the bot.
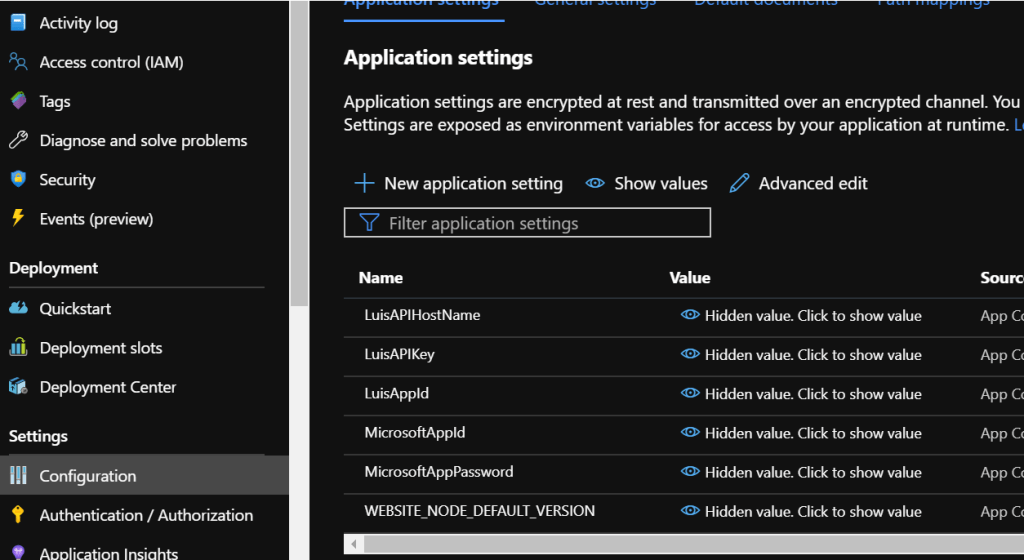
- In Azure, collect the below settings by opening the App Service in the resource group and clicking on the configuration option.
- MicrosoftAppId
- MicrosoftAppPassword
Create App Registration
- Create and register a new app in Azure Active Directory with permissions to Dynamics 365. Refer to this docs site for steps on creating the app. Take note of the Application Id and Directory(Tenant) Id.
- Once the app has been created and the permissions for Dynamics 365 has been granted, Ensure you grant admin consent for your organisation.

- Create a new client secret for the app by following the steps listed in the smart assist bot’s readme file and make a note of the client secret generated.

Microsoft have created sample code which is incredibly useful to setup Smart Assist. Now that we have created our Azure Service and App Registration with the correct permissions to access dynamics, we will be able to clone the repository provided by Microsoft.
Setup the Smart Assist Bot
- Clone or Download the example SmartAssist bot code from GitHub : https://github.com/microsoft/Dynamics365-Apps-Samples.
- Unzip the downloaded file and browse to Dynamics365-Apps-Samples\customer-service\omnichannel\smart-assist-bot\SmartAssistBot
- Open the SmartBot solution file in Visual Studio.
- Open the appsettings.json file and populate variables with the values collected in the previous sections.

- Publish the app to Azure
Configure Teams Channel
- Browse to the Web App Bot in Azure
- Select the channels option in the left navigation
- Select the Teams icon
- Click Save
A bot will be created which will allow the below scenarios:
- Returning published knowledge articles based on chat messages sent to/from the agent
- Send an adaptive card to Omni Channel to allow agent to trigger the creation of an appointment with pre-populated data if the intent to create an appointment is identified.
Test Smart Assist Bot
Before we configure the bot in Omni Channel, lets test it in Azure.
- Browse to the web app bot in azure
- Select Test in Web Chat
- The key word is “omnichannelfoobar”. OmniChannelfoobar is a made up word used to identify if the bot has been escalated (assuming another bot, like power virtual agent is in play). When testing, it will be necessary to type the word to trigger the smart assist code.
In my next blog we will do the final steps to add the smart assist bot to Omni Channel and configure the card to trigger an action to launch a new appointment form when clicked.
In the meanwhile, please let me know how you progressed with creating your own smart assist bot! I’d love to hear from you 🙂

Hi – Nice Post. When are you publishing the next post ?
Thanks
Jessica
LikeLike
Hi Jessica! I got spammed with work but I’m back on it and new post coming this week!
LikeLike